Weekend RV Trip Checklist: Leave, Arrive, Set Up, Pack Up
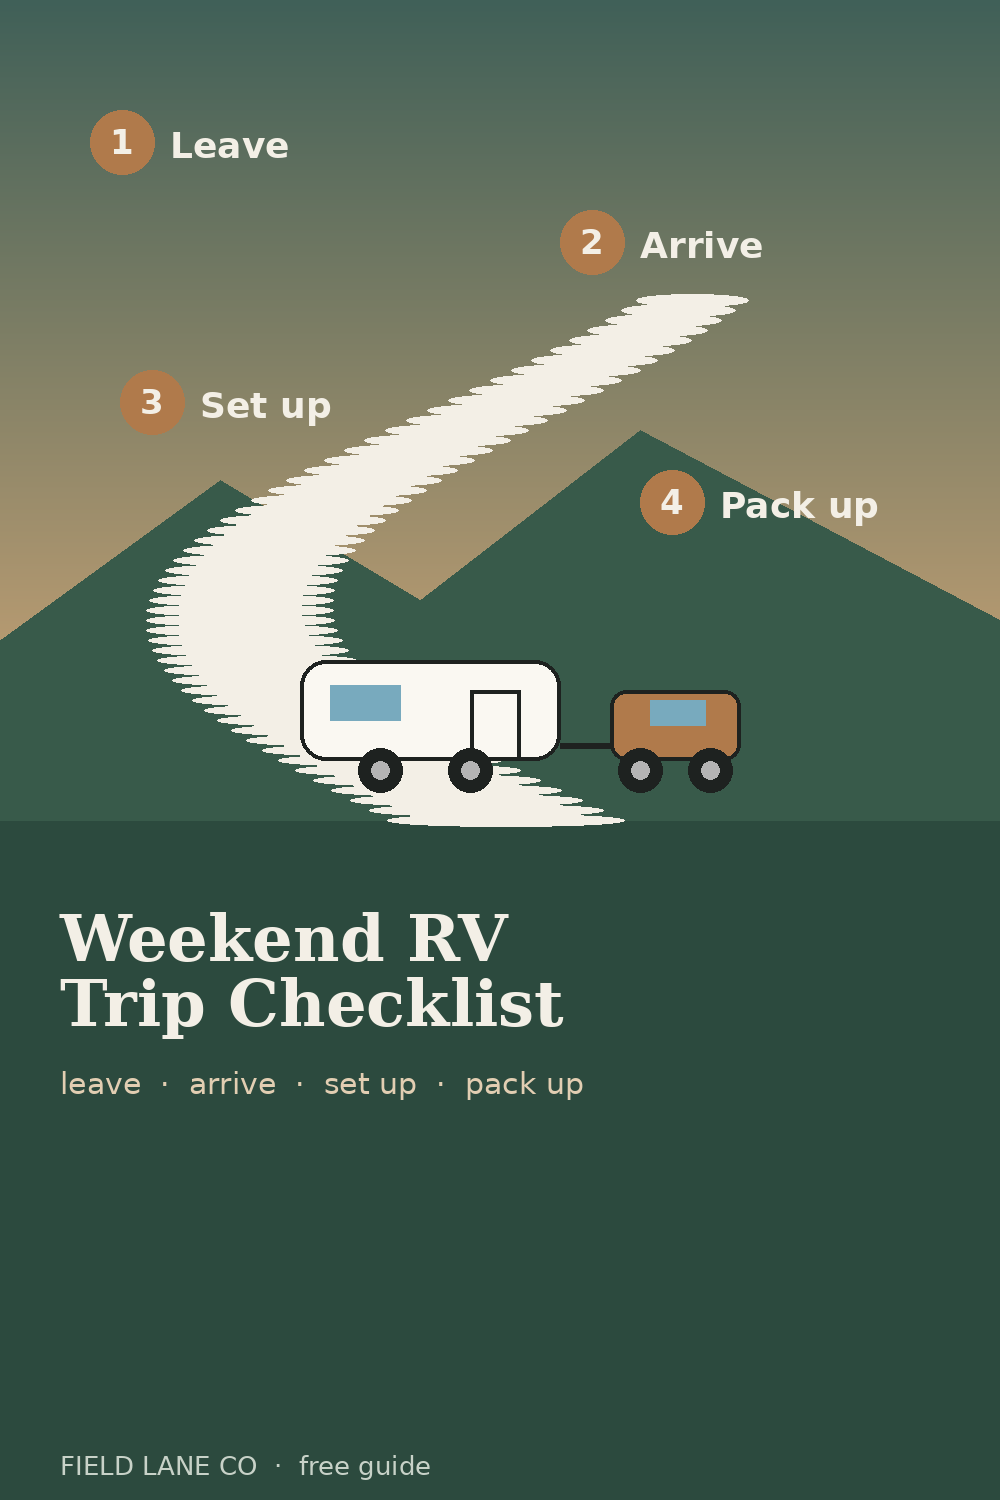
Short answer: A weekend RV trip has four moments where things get forgotten: pulling out of the driveway, arriving at the site, setting up, and packing up Sunday morning. Use a short checklist at each one, and do the walk-around the same way every time. Most "we drove off with the step down" stories happen because somebody rushed or got interrupted halfway through.
This guide is a household checklist. It doesn't replace your RV's owner's manual, your tow vehicle's manual, or campground rules. Where those say something different, follow them.
Stage 1: Before you pull out (about 10 minutes)
Do this as a walk-around, in the same order every trip. If someone interrupts you, start the section over.
Hitch and coupling (towables)
- Coupler seated and latched on the ball. Lock pin or clip in.
- Safety chains attached the way your manual shows
- Breakaway cable attached to the tow vehicle, not to the chains
- Electrical cord plugged in
- Tongue jack fully raised; wheel chocks pulled and stowed
- Weight-distribution or sway gear set, if you use it
Outside
- Steps in
- Awning stowed and secured
- Slide-outs in (if you have them)
- Antenna or satellite down
- Stabilizer jacks up
- Hookups disconnected and stowed: power, water hose, sewer hose
- Compartment doors closed and latched
- Tires look right. Check pressure against your manual.
Inside
- Cabinets, drawers, and the fridge latched
- Loose items put away or wedged (counters, shower, table)
- Roof vents closed; windows closed
- Entry door locked
Last
- Lights check with a helper: running lights, brake lights, turn signals
- Final roll call: people, pets, phones, keys, wallet
- One last slow walk around the whole rig
If you want this as a card you can clip by the door, the RV Hitch + Departure 10-Minute Checklist is a printable version with a spare card.
Stage 2: Arriving at the site
Before you back in, take two minutes on foot.
- Walk the site: find the power pedestal, water spigot, and sewer connection
- Look up for branches and look down for rocks, posts, and soft ground
- Decide where the door, awning, and picnic area should end up
- Agree on hand signals with whoever is spotting
- Back in slowly. It's fine to stop, get out, and look again.
A quick sketch of the site (where the pedestal is, which side the door faces, where the slide goes) is surprisingly handy the next time you visit the same campground.
Stage 3: Setting up
Order matters here. Stabilize first, then connect.
- Level side to side, then chock the wheels
- Unhitch (towables), then level front to back
- Stabilizer jacks down
- Power: check the pedestal breaker is off, plug in, then turn it on. A surge protector is a common choice. Follow your RV manual for your amp setup.
- Water: connect with a drinking-water-safe hose. A pressure regulator is a common choice.
- Sewer: connect if you have a full hookup. Keep the gloves near the hose.
- Slides out, awning out (if the weather allows)
- Fridge and appliances on as your manual says
- Outdoor setup: mat, chairs, lights, cooler in shade
If electrical or plumbing questions come up, go to your RV's manual, the campground, or a qualified technician, not a checklist.
The Campsite Setup + Power/Water Map is a printable arrival-walk and site-sketch page with power, water, and setup checklists.
Food for two nights
Plan meals before you shop so the cooler isn't half-empty on Saturday or overflowing on Sunday.
- Write the meals down: Friday dinner, Saturday breakfast/lunch/dinner, Sunday breakfast
- Shop from that list, not from memory
- Pack the cooler cold, and keep ice separate from things that shouldn't get wet
- Plan Sunday breakfast to use up leftovers
The Two-Night Campground Meal + Ice Plan lays this out as printable meal cards and a grocery run list.
Stage 4: Sunday pack-up
Checkout mornings run late. Start early and do it in order.
Tanks and hookups (follow your manual and the campground's dump rules)
- Gloves on
- Many RVers dump the black tank first and then the gray, so the gray water rinses the hose
- Hoses rinsed, capped, and stowed
- Water disconnected; power off at the pedestal, then unplugged
Inside sweep
- Fridge contents secured; trash bagged
- Counters cleared; cabinets and drawers latched
- Vents and windows closed
Site
- Walk the site for trash, stakes, chocks, and small items
- Fire out completely, if you had one. Follow campground rules.
- Leave it the way you found it, or better
Then run the whole Stage 1 checklist again before you pull out.
The RV Pack-Up Sunday Morning Card is a printable card set for this stage.
After you're home
- Unpack the fridge and cooler first
- Wash towels and bedding
- Write down what you ran out of or wished you'd brought, and start next trip's list
Prefer the whole weekend on one clipboard?
The Weekend RV Campground Trip Pack puts all four stages into one printable set: hitch and departure, cabin and fridge pack list, cooler and ice run, campsite setup, a power/water/waste site map, a two-night meal plan, Sunday pack-up, and a home reset page. It's undated, so you can reprint it for every trip.
Field Lane Co makes printable household checklists. This guide isn't mechanical, electrical, or plumbing advice and isn't a substitute for your RV and tow-vehicle manuals or campground rules. Not affiliated with any RV maker or campground brand.